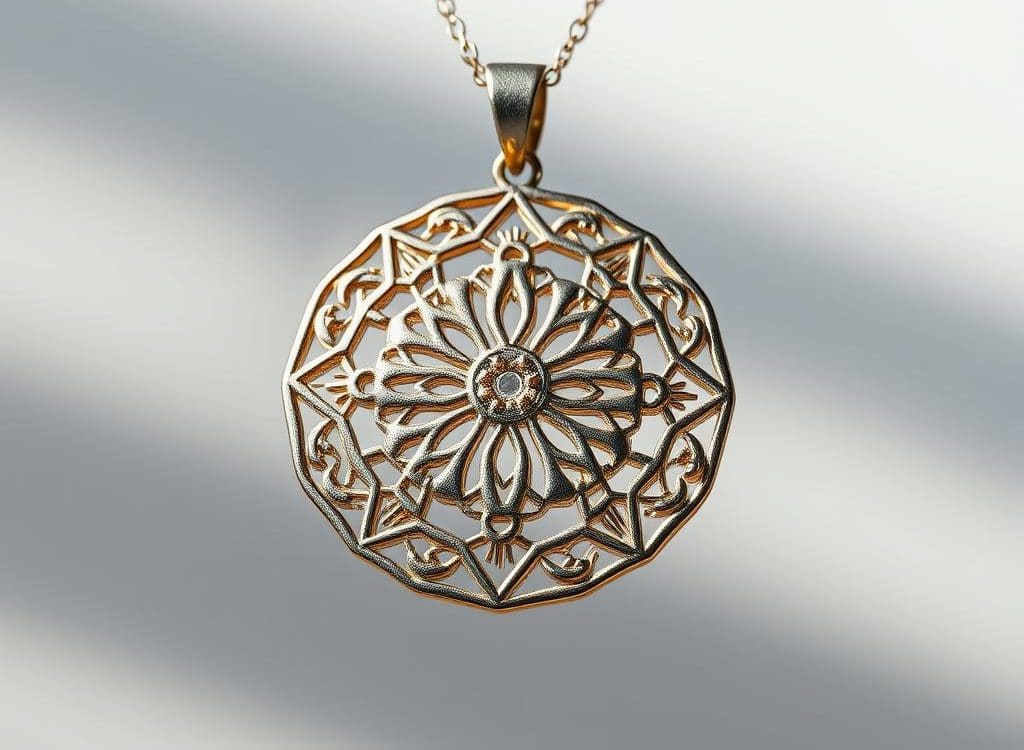
How to Make 3D Printed Jewelry at Home!
I started making DIY jewelry and found a new passion. I loved the idea of wearing unique pieces that showed my style. But then, I discovered 3D printed jewelry. It was amazing to think I could make my own designs at home.
With a few tools and some tips, I learned to create my own jewelry. I picked my favorite resins and learned how to sand and polish. It was easy to make stunning pieces.
I learned a lot, like how to prepare models and follow a burnout schedule. Using a centrifuge for metal casting was a challenge, but it was rewarding. Every day, I turned my ideas into real, wearable art.
Making these designs was not only fun but also fulfilling. I felt proud wearing my creations. Let’s explore how to make 3D printed jewelry together. We’ll cover the basics and the fun of creating unique pieces.
Key Takeaways
- 3D printing technology has made jewelry design accessible to everyone.
- Utilize castable resins for effective 3D printing models.
- Smoothing and polishing techniques are essential for a professional finish.
- Creative freedom allows for customization in home jewelry design.
- Various materials and techniques can enhance the final product’s appearance.
Understanding the Basics of 3D Printed Jewelry
Exploring 3D printed jewelry means learning about 3D printing basics. This technology builds objects layer by layer from digital files. It’s a green way to make unique pieces, cutting down on waste.
The Technology Behind 3D Printing
At the heart of 3D printed jewelry are techniques like Fused Deposition Modeling (FDM) and Stereolithography (SLA). FDM is budget-friendly and easy to use. SLA, on the other hand, offers high detail and a smooth finish. For instance, the Formlabs Form 3+ makes high-quality jewelry accessible to all.
The Materials Used for 3D Printing Jewelry
The choice of materials is key for 3D printed jewelry’s look and strength. PLA is great for light, detailed pieces. PETG is durable and shiny. TPU is flexible, and metal-filled PLA gives a metallic shine.
With materials like Castable Wax 40 Resin, designers have more options. It makes creating jewelry easier and more fun.
Designing Your 3D Printed Jewelry
Creating your own 3D printed jewelry is exciting. The right design software can make a big difference. Tools like Tinkercad and Fusion 360 are great for all skill levels.
They make it easy for beginners to start and offer advanced features for experts. A user-friendly interface helps me explore and create unique pieces that show my style.
Choosing Software for Your Designs
Design software is key for making detailed jewelry designs. With CAD programs, I can make 3D models with spirals, loops, and engravings. Each tool has its own strengths.
Tinkercad is simple for quick projects, while Fusion 360 is better for complex designs. As I get better, I use these tools to create new and interesting designs. The quick prototyping feature helps me make changes fast, saving time and money.
Inspiration for Futuristic Designs
Finding inspiration for futuristic designs can come from many places. I often look to nature, technology, and current trends for ideas. For example, I might use organic shapes from plants or the clean lines of modern buildings.
This leads to unique jewelry that catches the eye. I also like to try new materials, like metal-filled PLA or flexible TPU. Exploring themes from history or culture, like the Viking Hair Pin Brooch, adds depth to my designs. Turning my ideas into wearable art is thrilling and keeps my passion for 3D printed jewelry alive.
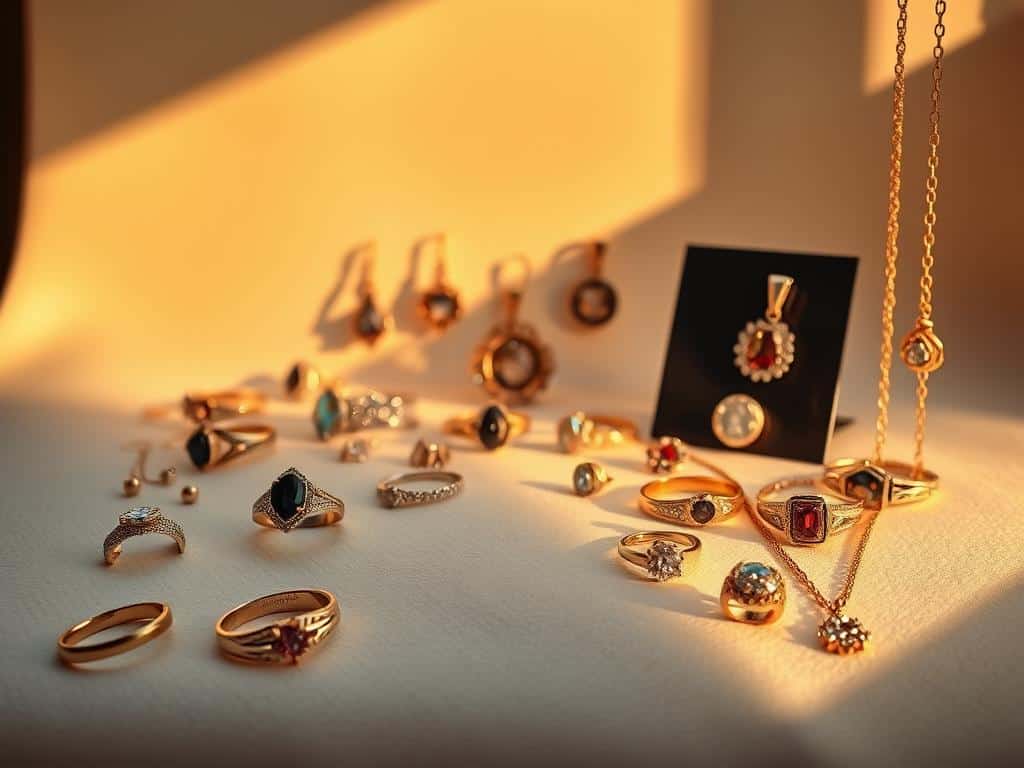
Steps to Create Your Own 3D Printed Jewelry
Making beautiful 3D printed jewelry takes a few key steps. First, you need to prepare your 3D model. Then, you print it. Lastly, you finish it to make it shine. Knowing each step helps make your jewelry look great.
Preparing Your 3D Model for Printing
Getting your model ready is the first step. You can learn this by watching free online tutorials. It takes about 20 hours to get good at it. You’ll clean up your design and make any needed changes.
A clean model means less work later. It helps your jewelry print better and look nicer.
The Printing Process
Once your model is ready, it’s time to print. A good starting printer is the Entina Mini, costing between $200 and $800. Printing a piece takes about 5 hours and costs $5 to $10.
Choosing the right settings is important. It makes your jewelry look amazing. Being patient here is key.
Finishing Your 3D Printed Jewelry
The last step is finishing your jewelry. This takes about 2 hours and costs $5 to $10. You might sand and polish it to make it smooth.
To get a shiny metallic look, you can use metallic paints or filaments. The effort you put into finishing makes a big difference. It makes your jewelry look professional and beautiful.
Conclusion
Creating 3D jewelry is not just a new way to make things. It’s also a very rewarding hobby. This article showed how 3D printing lets you make unique, custom jewelry at home. You can use materials like Nylon PA12 and TPU to make pieces that last and are good for the planet.
Exploring the steps from choosing software to finishing touches, I found that crafting is more than just making jewelry. It’s a way to express yourself and be creative. With tools like Multi Jet Fusion and resin printing, you can make pieces that look like they came from a pro.
The future of 3D printed jewelry looks very promising. New materials and methods are coming out all the time. By starting with 3D printing, you join a community that changes jewelry making with creativity and skill. I invite you to try it out and see where it takes you.

Leave a Reply
You must be logged in to post a comment.