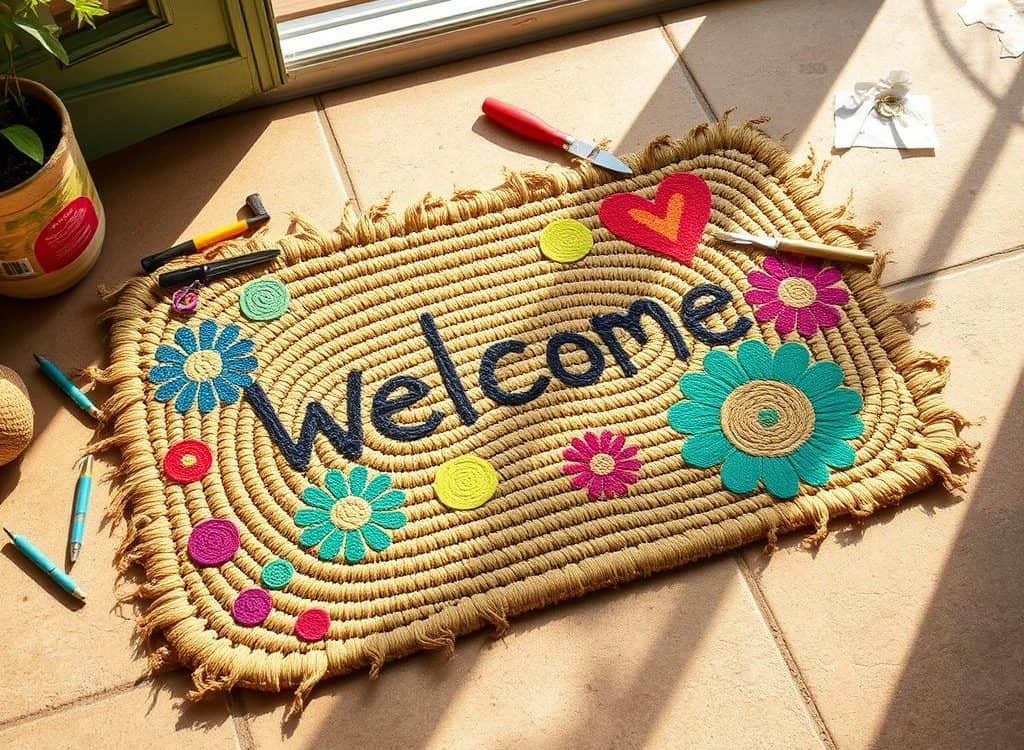
How to Create a Personalized DIY Welcome Mat!
Standing in front of my home on a rainy afternoon, I felt my front porch was missing something special. My old doormat caught my eye, showing me the beauty of a personalized welcome mat. I thought, why not make one myself? It would be fun and make my home feel more welcoming.
Looking for affordable options, I found coir mats at IKEA. They were perfect for my DIY project. I was excited to start and show off my style at the front door.
This project was more than just a front door update. It was a chance to express myself. In this article, I’ll show you how to make your own custom mat. It will make a big impression on your guests.
Key Takeaways
- Personalized DIY welcome mats add charm and reflect your personality.
- Coir mats from IKEA are affordable and durable options for your project.
- Utilizing tools like a Cricut machine can streamline your design process.
- Outdoor vinyl and transfer tape are essential for effective stencil application.
- Maintaining your design with proper sealants protects it from wear and tear.
Diving into DIY Welcome Mats
Making a personalized welcome mat is a fun project that can make my home look better. It adds character and charm, welcoming guests before they enter. A well-designed mat is not just practical but also sets a warm atmosphere, showing off my style.
By choosing custom designs, I make sure the mat reflects my taste. This way, it leaves a lasting first impression on everyone who visits.
Understanding the Importance of Personalized Front Door Decor
Our front door is where visitors first meet us. A personalized welcome mat lets me show my personality and make a welcoming space. It can make guests feel warm and comfortable right away.
By spending time on a custom design, I can add colors, patterns, or quotes that mean something to me. This turns a simple mat into a true reflection of my home.
Why Choose Coir Mats for Your Project?
Coir mats are a great choice for welcome mats because of their many benefits. They’re made from coconut fibers, making them tough and durable. They can handle lots of foot traffic and are water-resistant, perfect for all weather.
Coir mats are also easy to find at places like IKEA and are affordable. This makes them perfect for DIY projects that last a long time.
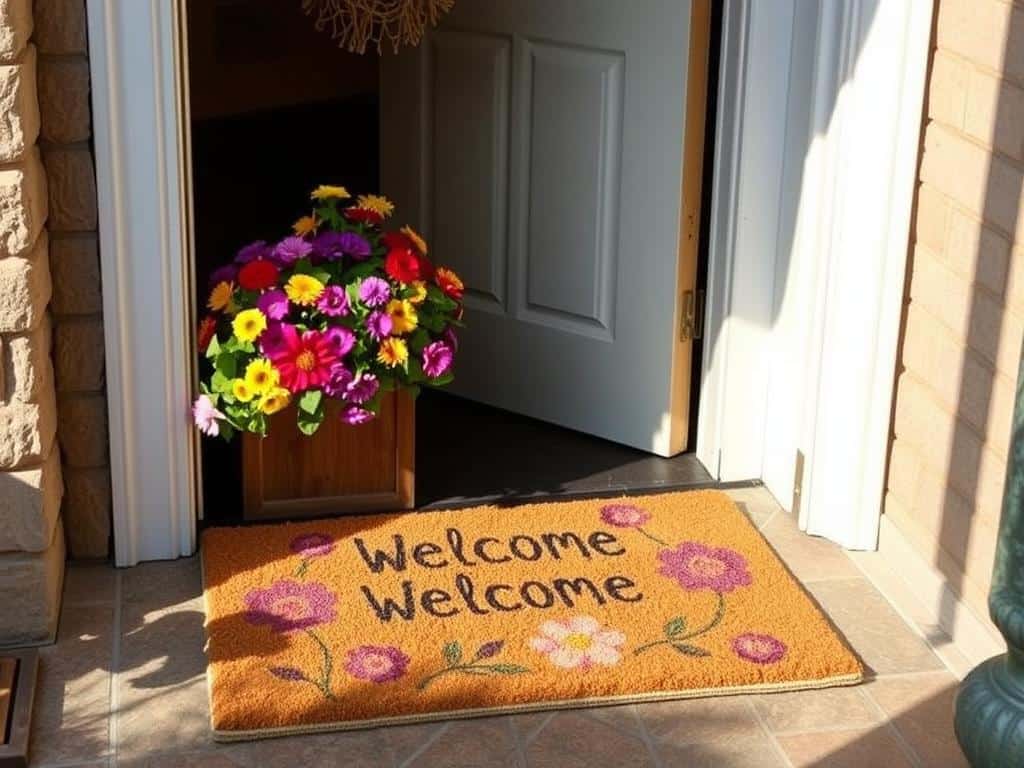
Step-by-Step Guide to Making Your DIY Welcome Mats
Making my own DIY welcome mats was a fun and rewarding project. Each step made my front door decor more personal. I’ll share how to get started, design your stencil, prepare the doormat, and paint it with care.
Gathering the Necessary Supplies
First, I gathered all the supplies I needed. I bought a blank, coir outdoor rug for about $9-$10 at Home Depot. It’s durable and great for any design. I also got flat black exterior paint, a stiff brush, and tools like a hammer and pliers.
Having a workbench and wearing gloves made the job easier and safer. I thought about using a laser cutter for detailed stencils or a jigsaw for simpler designs.
Designing Your Custom Stencil
Next, I designed my custom stencil. I used a cutting machine to make precise designs from iron-on vinyl. I picked a font and size that was clear and fitting for my home’s entrance. A weeding tool helped me clean up the stencil.
If you don’t have a cutting machine, you can make the stencil by hand. The goal was to create something that shows my personality and fits well at my home’s entrance.
Preparing the Doormat for Painting
Before painting, I had to prepare the doormat. I vacuumed it to remove loose fibers, making it smooth for painting. This step helped keep my design sharp and clear.
Getting the doormat ready is key to a professional-looking finish.
Applying Your Design with Precision
With my stencil and doormat ready, I applied my design. I used sprayable rubber seal paint for durable results. I waited 1-2 days between coats for the best adhesion.
After everything dried, I sealed the mat with a waterproof sealant. This made it last longer and withstand the weather.
Conclusion
Making personalized welcome mats is more than a fun DIY project. It’s a way to add a personal touch to your home decor. These mats can welcome guests with a unique design, color, and texture.
This project is easy to start, needing just a few tools and supplies. It’s perfect for beginners, encouraging everyone to get creative. It’s a great way to show off your style.
Seeing my welcome mat come to life shows how a simple DIY can change a space. You can choose from many designs, like seasonal themes or messages like “Welcome.” It’s also easy to keep clean, making it practical and stylish.
With this guide, you can start your own DIY project. You’ll feel proud of what you’ve made and have a unique decoration. Welcome your loved ones into a home that truly reflects you!

Leave a Reply
You must be logged in to post a comment.