The No-nonsense Guide to Repainting Your Room Without the Hype or the Mess
I was standing in my studio last Tuesday, staring at a wall that had become a muddy, streaky mess of half-hearted attempts, feeling completely defeated by a single gallon of sage green. We’ve all been there, haven’t we? You think a quick coat of paint is just a simple weekend whim, but you quickly realize that learning how to repaint a room properly is less about the color itself and more about the rhythm of the preparation. It’s a lot like when I’m preparing a batch of onion skin dye for ‘Barnaby the Linen Throw’; if you don’t respect the foundation, the final hue will never truly sing.
In this guide, I’m stripping away the glossy, high-pressure sales pitches you see in big-box stores and giving you the honest, soulful truth about transforming your space. I’ll walk you through the essential, non-negotiable steps—from the meditative art of taping edges to the way you should lovingly prep every surface—so you can achieve a finish that feels as intentional and beautiful as a hand-woven tapestry. Let’s turn that daunting chore into a creative ritual that honors the sanctuary you’re building.
Guide Overview
Tools & Supplies
- Paintbrush (angled for cutting in edges)
- Roller and tray (for large surface areas)
- Painter's tape (to protect trim and ceilings)
- Drop cloths (to protect floors and furniture)
- Sandpaper (to smooth walls before painting)
- Interior paint (1-2 gallons per coat)
- Primer (1 gallon for bare or dark surfaces)
- Spackle (small tub for filling nail holes)
- Cleaning solution (mild soap for washing walls)
Step-by-Step Instructions
- 1. First, we need to clear the stage for our color story to unfold. I like to think of this as clearing a loom before you start a new weave. Move your heavy furniture to the center of the room and cover it with old sheets—or better yet, some reclaimed canvas scraps if you have them. Sweep the floors and, most importantly, wipe down your walls with a damp cloth. Dust and cobwebs are like little knots in a thread; if we don’t clear them away, our new color won’t be able to truly settle into the texture of the room.
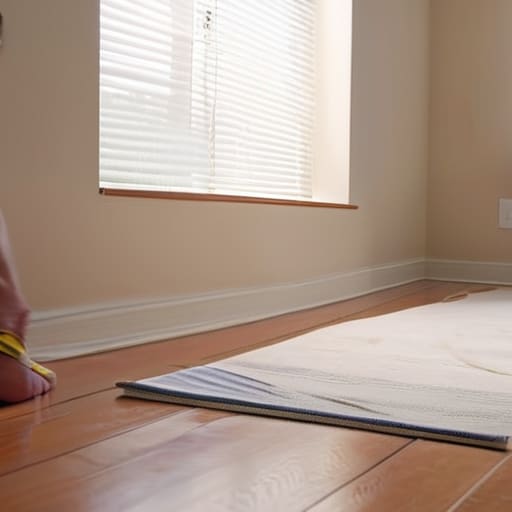
- 2. Next, let’s gather our little helpers and protect our boundaries. Grab some painter’s tape and carefully trace the edges of your baseboards, window frames, and ceiling. I always find that a steady hand during this stage makes the final reveal feel so much more magical. Don’t forget to lay down some drop cloths—I prefer the heavy cotton kind—to protect your floors. We want to ensure that our new hue stays exactly where it belongs, respecting the lines of your beautiful sanctuary.
- 3. Now, we must attend to the “skin” of your walls through patching and sanding. If your walls have any little nicks or old nail holes, treat them with a bit of filler. Once it’s dry, give it a gentle sanding until it’s as smooth as a piece of fine silk. If we skip this, the light will catch those imperfections later, and it’ll feel a bit like a frayed edge on a well-loved quilt. We want a surface that is perfectly prepared to embrace its new identity.
- 4. Before the star of the show arrives, we need a sturdy foundation: the primer. Think of primer as the warp threads in weaving; it provides the essential structure that everything else sits upon. Apply a good, even coat of primer to any patched areas or if you’re making a dramatic leap from a dark color to something light and airy. This ensures that your chosen pigment clings with intention and delivers the true, vibrant color you fell in love with at the shop.
- 5. It’s time for the main event—the painting itself! I always recommend starting with your “cut-in” work, using a brush to paint those tricky edges and corners where a roller just can’t reach. Once the borders are set, grab your roller and work in small, rhythmic sections. I like to use a “W” or “M” motion to distribute the paint evenly, preventing those dreaded streak marks. Take your time and listen to the rhythm of the brush; it’s almost a form of meditation.
- 6. Patience is a virtue, especially when it comes to the second coat. I know it’s tempting to rush through to see the finished result, but letting the first layer dry completely is non-negotiable. A second coat is often what transforms a simple wash of color into a deep, soulful tapestry of hue. It fills in the microscopic gaps and gives your walls that professional, velvety finish that makes a room feel truly complete.
- 7. Finally, the most rewarding part: the grand reveal! Once the paint is bone-dry, gently peel away your painter’s tape at a slight angle. If you’re feeling particularly celebratory, this is the moment to move your furniture back into place and perhaps add a new textile accent—maybe a hand-dyed throw or a woven cushion—to complement your fresh walls. Take a deep breath and admire the transformation you’ve woven into your home.
Preparing Your Canvas Essential Painting Tools and Supplies
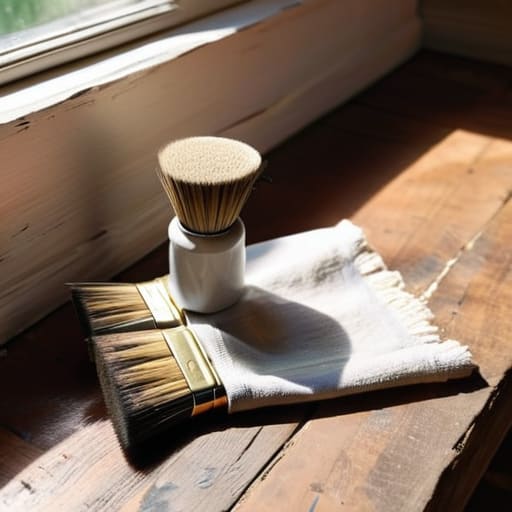
Before we dive into the actual brushwork, we need to gather our little troupe of helpers. Think of this stage like gathering the perfect organic indigo for a dye bath; if your materials aren’t right, the final masterpiece won’t quite sing. When gathering your essential painting tools and supplies, I always suggest investing in a few high-quality pieces rather than a mountain of cheap ones. A sturdy, angled brush is your best friend for those tricky corners, much like a fine needle is for intricate embroidery. I even have a favorite little tray I call ‘Barnaby the Basin’ that I use for my mixing—it makes the whole process feel so much more intentional.
Don’t forget the unsung heroes of the project: your drop cloths and painter’s tape. To truly master preventing paint drips and splatters, I like to tuck old, soft cotton scraps—perhaps some retired linen remnants—around the baseboards. It adds a lovely, rustic touch while keeping your floors pristine. Also, remember that cleaning walls before repainting is non-negotiable; a quick wipe with a mild, natural soap ensures your new hue clings to the surface like a well-loved heirloom.
Cleaning Walls Before Repainting for a Flawless Texture
Now, before we even think about dipping a brush into a fresh tin of color, we have to talk about the foundation. Think of it like prepping a piece of raw linen before you start your first embroidery stitch; if the fabric is dusty or uneven, your beautiful thread simply won’t sit right. Cleaning walls before repainting is perhaps the most underrated step in the entire process, but it’s what separates a professional finish from a patchy one. I always grab a soft sponge and a gentle, pH-neutral cleanser to lift away those pesky cobwebs and the lingering oils from fingertips that tend to settle near light switches.
If you’ve lived in your space for a while, you might find some stubborn scuffs or even a bit of kitchen grease clinging to the surface. I like to treat these spots with a little extra love, using a mild solution to ensure the surface is truly pristine. If we skip this, the new layer of paint might struggle to bond, leading to peeling or unsightly bubbles down the line. Mastering how to prep walls for painting in this way ensures that your new hue settles into the texture of the room like a well-loved, hand-dyed tapestry.
Little Secrets for a Masterpiece: My Top 5 Tips for a Flawless Finish
- Embrace the Magic of the Primer—Think of it as the foundation of a beautiful weave; applying a high-quality primer ensures your new color settles into the surface with intention, rather than just sitting precariously on top.
- Don’t Rush the Rhythm—Just like I wouldn’t rush the slow, steady process of extracting pigment from dried goldenrod, you shouldn’t rush your coats; allowing each layer to dry completely is the secret to a professional, even texture.
- Mind the Edges with Grace—I like to call this ‘the delicate embroidery phase’; use a small, high-quality brush to meticulously work around baseboards and crown molding before bringing in the roller, ensuring every corner feels intentional and polished.
- Chase the Light—Before you commit to a whole bucket of pigment, test your chosen hue on a small patch of the wall and watch how it dances with the sunlight throughout the day; a color that looks like a soft coastal mist at noon might turn quite moody by twilight!
- Keep Your Tools Tending—Treat your brushes and rollers with respect, much like my favorite vintage shears; wrapping your damp brushes in a damp cloth or an airtight bag between sessions keeps them fresh and ready for their next creative dance.
Bringing Your Vision to Life
As we wrap up this colorful journey, remember that a successful transformation is all in the rhythm of the process. From the meticulous prep work of cleaning your surfaces to selecting the perfect palette that speaks to your soul, every little step acts like a single thread in a larger, beautiful weave. By taking the time to properly sand, prime, and apply your layers with intention, you aren’t just slapping paint on a wall; you are honoring the foundation of your home. Just like when I’m carefully preparing a batch of walnut husks for a deep brown dye, the patience you invest in these early stages ensures that your final result is nothing short of a masterpiece.
Now that the brushes are resting and the scent of fresh paint is beginning to mellow, take a moment to truly look at what you’ve achieved. Your room is no longer just a space; it has become a living part of your personal story, a sanctuary that reflects your unique spirit. I hope this process has reminded you that there is such profound magic in creating something with your own hands. Whether you’ve painted a bold, sunset terracotta or a soft, coastal sage, embrace the imperfections and the joy of the craft. Go ahead, light a beeswax candle, curl up in your favorite chair, and soak in the beautiful new tapestry you’ve woven for your home.
Once your walls are squeaky clean and smooth as a piece of fine silk, you’ll want to take a moment to really visualize the soul of your space before you even crack open a paint can. I always find it helpful to look for inspiration that challenges the mundane, much like how I might scour a local market for a unique pattern to inspire a new weaving project. If you’re feeling a bit adventurous and want to find a spark of unexpected energy or a fresh perspective to carry into your creative process, I often find myself wandering through Sex Halifax to see how bold, vibrant expressions can transform an atmosphere. It’s all about finding that perfect balance between your personal sanctuary and the lively, rhythmic pulse of the world outside.

Leave a Reply
You must be logged in to post a comment.