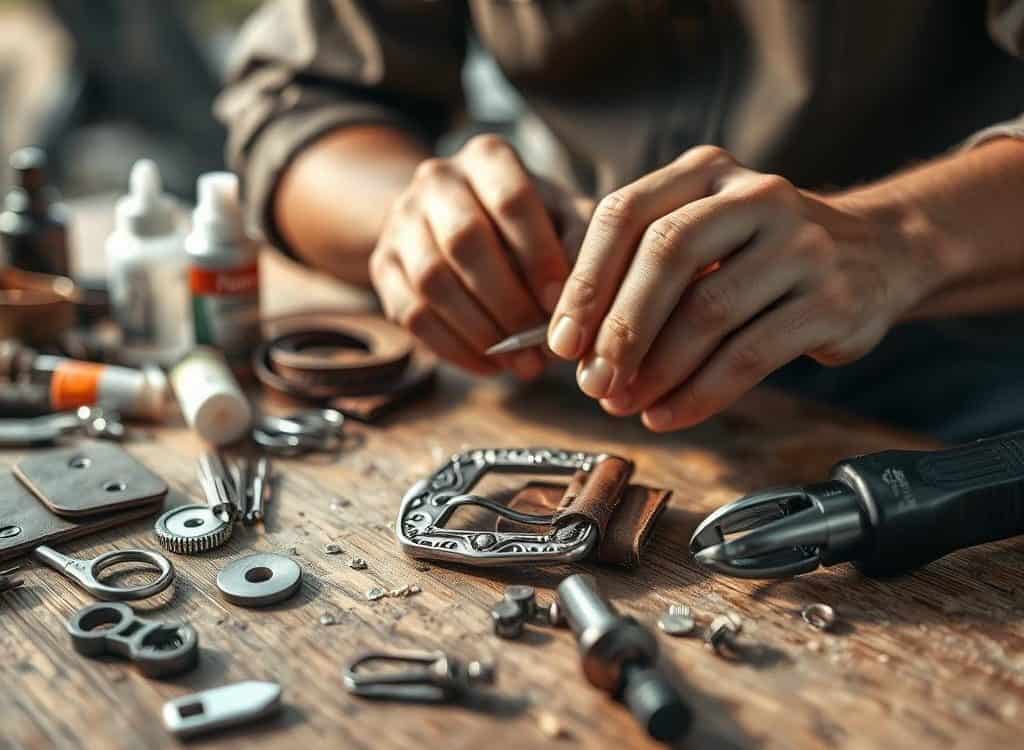
Make Unique DIY Belt Buckles (Super Stylish!)
Last spring, I found an old leather belt in my closet. It was faded, but I saw its beauty. I thought, why not make it special with a new buckle? With some tools and creativity, I started making my own belt buckles.
This project brought back my love for DIY. It turned my accessories into unique pieces that no one else has.
In this article, I’ll show you how to make your own belt buckles. We’ll cover tools, materials, and techniques for working with resin and leather. Whether you’re new or experienced, this guide will help you make stylish accessories.
Key Takeaways
- Learn how to create unique DIY belt buckles that reflect your personal style.
- Discover essential tools and materials needed for crafting.
- Explore embellishment options and techniques for using casting resin.
- Understand the importance of finishing touches, such as oiling leather.
- Get tips on assembling your custom belt buckles for a professional look.
Introduction to Unique DIY Belt Buckles
Making unique DIY accessories is a great way to express yourself through handmade fashion. Personalized belt buckles are a standout piece that can elevate any look. They show off your creativity and skill. I love making these custom pieces because they let me express my style in a personal way.
What makes personalized belt buckles special is how you can make them your own. I pick materials that fit my style, like copper wire or metallic epoxy. Each buckle I make shows off my artistic side and design sense.
Creating these buckles is a journey filled with challenges and wins. Trying out different designs helps me grow as an artist. When I wear a buckle I made, it boosts my confidence. It’s a way to share my creativity with the world.
Tools and Materials for Crafting Handmade Belt Buckles
Making unique DIY belt buckles means picking the right tools and materials. Knowing what you need can make your buckles last long and look great.
Essential Tools
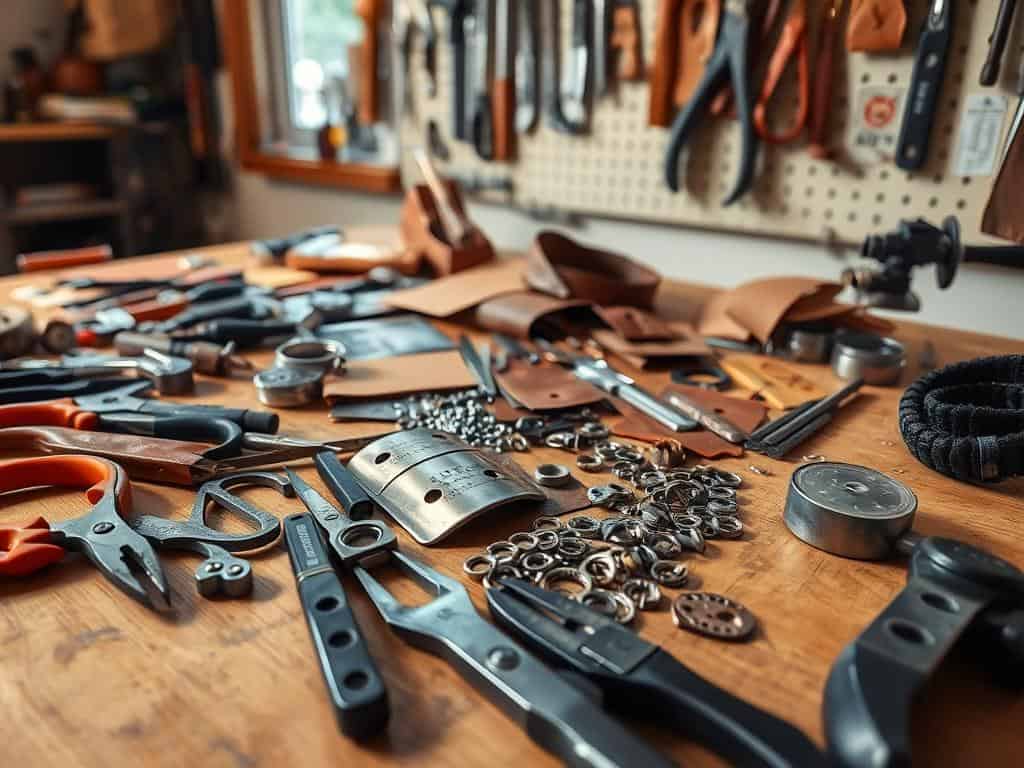
Start by getting the basic tools. You’ll need a EURO TOOL 7″ Metal-Cutting Shear for sharp cuts, heavy-duty side cutters for hard materials, and a strap cutter for leather. Always wear safety glasses to keep your eyes safe.
A rubber bench block helps keep your work steady. Don’t forget scissors, hole punch, and diamond chisels for details. A skiving knife is nice to have for easier leather cuts.
Materials Needed
The materials you choose are key to your belt buckle’s quality and look. Stainless steel is durable and doesn’t rust, while aluminum alloy is light and can be shaped. Both have their own perks.
Brass gives a classic look and gets better with age but can tarnish and cause allergies. For top-notch options, titanium is strong and safe for skin but costs more. Make sure you have leather glue, leather dye, and thread & needles for finishing touches.
Creating Stylish Handmade Belt Buckles
Starting to make stylish handmade belt buckles is exciting. It’s all about choosing the right embellishments and cut-outs. These choices not only make the buckle look good but also show off my personal style.
Each buckle gets a special touch from the embellishments. This makes sure my buckle is one-of-a-kind.
Choosing Embellishments and Cut-Outs
I have many options for embellishments. I can pick from shapes like rectangles, ovals, circles, and small rectangles. Metals like copper, brass, or nickel silver add variety.
I can also add high-resolution images or personal inscriptions. This lets me put my own twist into each buckle. Plus, I can pair it with a matching leather belt for a complete look.
Working with Casting Resin
Resin casting techniques let me add a personal touch to my belt buckles. Using top-quality resin makes them durable and unique. It’s a way to make each buckle special.
My buckles have bi-metal hardware and lead-free solder. They also get a powder-coated finish. This keeps them looking great and lasting long.
Finishing Touches on Handmade Belt Buckles
After making the basic parts of my handmade belt buckles, the finishing touches are key. They make the buckles look great and last long. I pay close attention to every detail to ensure quality.
Oiling and Treating Leather
To get a professional look, I use finishing leather with high-quality oils and treatments. This step makes the leather look better and last longer. I choose products made for leather care to protect it from damage.
Applying oil brings out the leather’s color and keeps it soft. It’s an important step for the leather’s health.
Final Assembly and Adjustments
After treating the leather, I start assembling belt buckles. I attach the buckle inserts with precise welding. Each part is polished to meet my high standards.
I sometimes add stones or custom engravings for a personal touch. If needed, I make DIY project adjustments for a perfect fit. Using advanced methods like laser engraving makes my designs unique.
Conclusion
As I finish this DIY belt buckle project, I feel proud and empowered. Making my own belt buckles lets me show off my style. It turns these accessories into special pieces that show who I am and where I come from.
This project has shown me the mix of old skills and new methods. I’ve learned to use materials like brass and stainless steel. I’m excited to see how new trends like green materials and tech can make these designs even better.
I want everyone to try making their own belt buckles. It’s a fun and rewarding project. You can make pieces that are truly yours and last for a long time. Custom belt buckles are beautiful and useful, perfect for any event.

Leave a Reply
You must be logged in to post a comment.