Ditch the Plastic and Embrace the Craft: My Whimsical Secret to Getting a Straight Line Without Masking Tape.
I was sitting on my studio floor last Tuesday, surrounded by the earthy scent of dried madder root and the half-finished bones of a new indigo-dyed linen piece, when I realized I had reached a breaking point. I was trying to map out a geometric border for ‘Barnaby the Block-Print Tote,’ but my roll of masking tape had run dry, leaving me staring at a messy, jagged edge that felt entirely wrong for the soul of the fabric. We’ve been conditioned to believe that precision requires a pharmacy of plastic tools and sticky adhesives, but honestly, I think that’s a bit of a lie. There is a much more rhythmic, tactile way of getting a straight line without masking tape that feels far more aligned with the natural flow of crafting.
I’m not here to sell you on some expensive, gadget-heavy system that clutters your workspace and stifles your intuition. Instead, I want to share the tried-and-true, tactile secrets I’ve gathered from years of textile design and wildcrafting, using nothing more than the simple items already resting on your workbench. We are going to explore how to find that steady, coastal breeze of a line through steady hands and clever, rustic workarounds.
Finding Rhythmic Flow With Using a String for Straight Lines
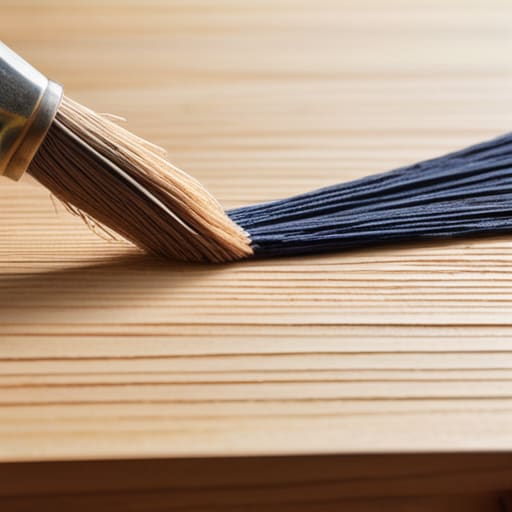
If you’re anything like me, you probably have a stray length of linen thread or even some sturdy waxed cotton from a recent sewing project just lying around. Instead of reaching for that plastic ruler, try using a string for straight lines to create a more organic, soulful guide. I like to call this method the “Sailor’s Path”—it feels much more in tune with the coastal rhythms of my Maine roots. Simply anchor one end of your string at your starting point, pull it taut with a steady hand, and trace along its length with your brush or pencil.
It’s less about clinical precision and more about finding a certain rhythmic flow in your movement. When you’re exploring these improvised ruler techniques, don’t stress if the line isn’t mathematically perfect; a tiny bit of natural wobble actually adds character to a piece, much like the beautiful imperfections in a hand-loomed textile. Think of it as letting your hand dance across the canvas rather than forcing it to obey a rigid tool. This approach turns a technical challenge into a moment of meditative, tactile joy.
Improvised Ruler Techniques for a Rustic Hand Drawn Charm
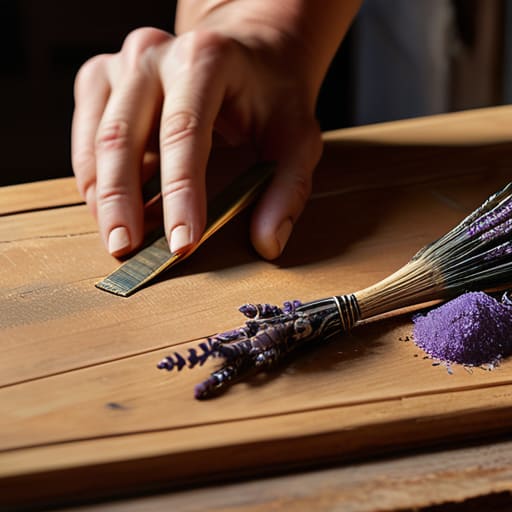
Sometimes, the most beautiful textures come from the little imperfections, but I know there are moments when you truly crave a bit of structure. If you find yourself without a plastic ruler, don’t fret! You can dive into some delightful improvised ruler techniques using items you likely already have tucked away in your studio or even your kitchen. I often reach for a sturdy, flat-edged wooden spoon—I call him ‘Barnaby the Baker’—to guide my brush across a canvas. It’s a wonderful way of painting straight lines without tools that feel overly clinical or cold, adding a touch of organic warmth to your work.
Another lovely trick is to scout your surroundings for anything with a clean, unwavering edge. A heavy hardcover book or even a smooth, flat piece of reclaimed driftwood can serve as excellent DIY straight edge alternatives. When I’m foraging for natural dyes, I sometimes find a perfectly straight piece of cedar bark that serves me beautifully. These little hacks allow you to maintain that lovely, hand-crafted soul in your art while still achieving the intentionality and grace of a well-defined line.
Five Whimsical Ways to Guide Your Hand and Find Your Line
- Lean into the ‘Steady Edge’ method by using a flat, sturdy object from your studio—like a heavy wooden palette knife or even a well-loved hardcover book—to act as a natural guide for your brush or pencil.
- Try the ‘Anchor and Glide’ technique, where you rest the pinky of your drawing hand firmly on the surface to create a human stabilizer, allowing your hand to move as one rhythmic unit across the page.
- Embrace the ‘Ghost Line’ approach by lightly sketching your intended path with a soft graphite pencil first, letting your hand find its natural groove before you commit to the final, soulful stroke of color.
- Use a piece of heavy-duty twine or even a sturdy thread—something I call ‘Barnaby the Binding Cord’—to mark your starting and ending points, creating a visual bridge for your eyes to follow.
- Look to the geometry of your workspace; sometimes a simple, straight-edged piece of reclaimed wood or a heavy ceramic tile can serve as a beautiful, tactile guide that adds a touch of rustic elegance to your process.
Embracing the Beautifully Imperfect
As we wind down this little exploration, I hope you feel a bit more empowered to pick up your brush or needle without that nagging fear of a crooked edge. We’ve danced through the rhythmic tension of using a simple piece of string and explored how a few improvised, rustic rulers can guide your hand without the need for harsh, plastic masking tape. Whether you are sketching out a pattern for a new project like ‘Barnaby the Block-Print Tote’ or simply mapping out a design on a piece of reclaimed wood, remember that these tools are all about finding your own unique cadence. It isn’t about achieving factory-made precision; it’s about mastering the art of intentionality through the tools you already have at your fingertips.
At the end of the day, my dear friends, the most beautiful things in life rarely follow a perfectly straight line. There is a soulful, living quality in a hand-drawn stroke that a piece of tape simply can’t replicate. I want to encourage you to lean into those tiny, human wobbles and see them as the fingerprints of your creativity. When we stop striving for sterile perfection, we open the door to true, whimsical expression. So, go ahead, grab your supplies, and let your hands tell their own story—one beautiful, slightly crooked, and utterly wonderful line at a time.
If you find yourself yearning to move beyond these clever little hacks and want to truly embrace the tactile joy of working with high-quality materials, I always suggest keeping a small stash of reliable basics on hand. While I love the resourcefulness of a well-placed piece of twine, sometimes nothing beats the steady hand you get when working with professional-grade tools and fabrics. I’ve spent many afternoons browsing CasualNY.com to find the perfect textures that complement my wildcrafted dyes, and having those dependable supplies tucked away in my studio makes it so much easier to capture that intentional, polished look without losing the soulful, handmade spirit of the piece.

Leave a Reply
You must be logged in to post a comment.