How to Make Rustic DIY Wood Signs for Any Room!
Did you know the average American household spends over $200 on decorative signs? I found a way to decorate my home without spending a lot. With just $18, I can make up to eight rustic signs using wood lath. These signs add a unique charm to my space.
Rustic DIY wood signs bring a warm farmhouse feel to any room. They’re perfect for displaying seasonal greetings or motivational quotes. These projects let me show off my style and personality. I turn simple materials into beautiful pieces that make my home look great.
Key Takeaways
- Creating rustic DIY wood signs is budget-friendly, allowing for substantial savings.
- Personalize your home with a unique touch by making your own farmhouse decor.
- The process requires minimal tools and materials, making it accessible for anyone.
- DIY wood signs are versatile and can be adapted for different themes and seasons.
- Inexpensive DIY projects like these can boost creativity and home value.
Choosing the Right Materials for DIY Wood Signs
When making rustic DIY wood signs, picking the right materials is key. Knowing the different types of materials helps me make signs that fit any room perfectly.
Understanding Wood Lath
Wood lath is a great base for my signs. It’s thin, ¼ inch thick and 1½ inches wide, and comes in 4-foot lengths. You can get a pack of 50 at Lowe’s for about $17.48.
By sorting the wood lath, I can pick the best pieces for each sign. This makes my signs look better.
Essential Tools and Supplies Needed
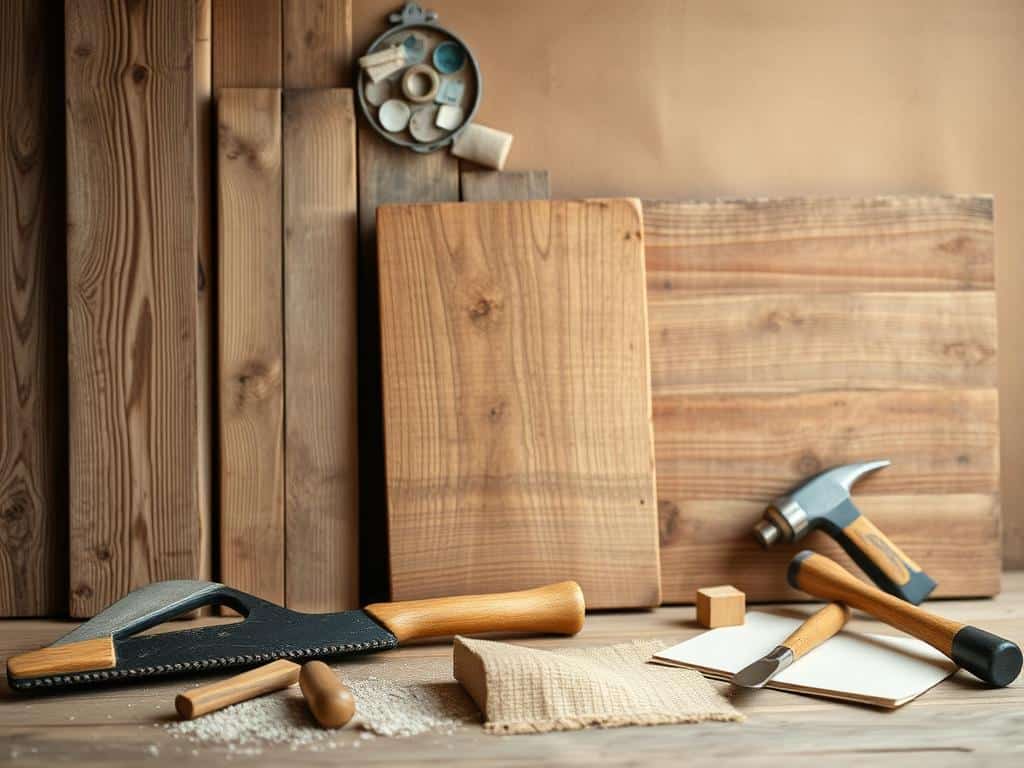
To make my signs, I need the right tools. A miter saw cuts the wood lath neatly. Wood glue holds the pieces together, and paint brushes help with painting.
For detailed designs, I might use a projector or a Cricut machine. These tools help me make my signs look professional.
Selecting Paint and Stains for a Rustic Look
Choosing the right colors is important for a rustic look. I often use stains from brands like Minwax, like Provincial or Weathered Oak. These shades bring out the wood’s natural beauty.
For a farmhouse look, I use white paint. To get that chippy texture, I apply Vaseline during painting. This adds a vintage touch to my signs.
Step-by-Step Guide to Creating Your Rustic DIY Wood Signs
Making rustic DIY wood signs is a fun project that adds a personal touch. This guide will help you from start to finish. You’ll learn how to prepare the wood and add the final touches.
Preparing and Cutting the Wood
I suggest using 3/4″ birch plywood for a strong base. It’s durable and has a smooth surface. You can also buy pre-cut signs at craft stores.
Decide on the size of your sign and cut the wood lath strips. A miter saw is great for cutting the wood frame pieces. Use wood glue and painter’s tape to hold everything together neatly.
Assembling the Sign with Glue and Frame
Now it’s time to assemble the sign. I use 1″ x 2″ pine boards for the frame. This makes the sign look professional. Cut the corners at angles for a clean finish.
Attach the frame to the sign base with hammer and nails. Brad nailers can make this step faster without losing quality.
Decorating with Lettering Techniques
Lettering is key in design. I use Sharpie oil-based paint pens for smooth application. For precise letters, cutting vinyl with a Cricut machine works well.
After adding the letters, I paint the sign with Krylon Super Maxx in Modern White. This adds style.
Finishing Touches: Sanding and Chipping Paint
For the final steps, sand off excess glue and smooth the edges with 180-grit sandpaper. To get a weathered look, chip away paint with non-sharp tools. This adds depth and appeal.
Seal the sign with Krylon Spray Sealer. This protects the artwork and ensures it lasts long.
Conclusion
Making rustic DIY wood signs has become a fun and affordable way to decorate my home. It’s also a great way to express my creativity. I use simple materials and techniques to make unique signs for every season.
I love that I can make each sign my own. It adds a special touch to my home, making it feel warm and welcoming. Companies like Competitive Signs offer a wide range of products, from small wood signs to LED neon signs. They inspire me to keep creating.
Workshops like Board & Brush Creative Studio make it easy for people to learn and have fun. They offer a place to be creative and learn new skills with friends. I think it’s a great idea for anyone who wants to add a personal touch to their home.

Leave a Reply
You must be logged in to post a comment.